What is Java ConstraintValidator
- Java 13
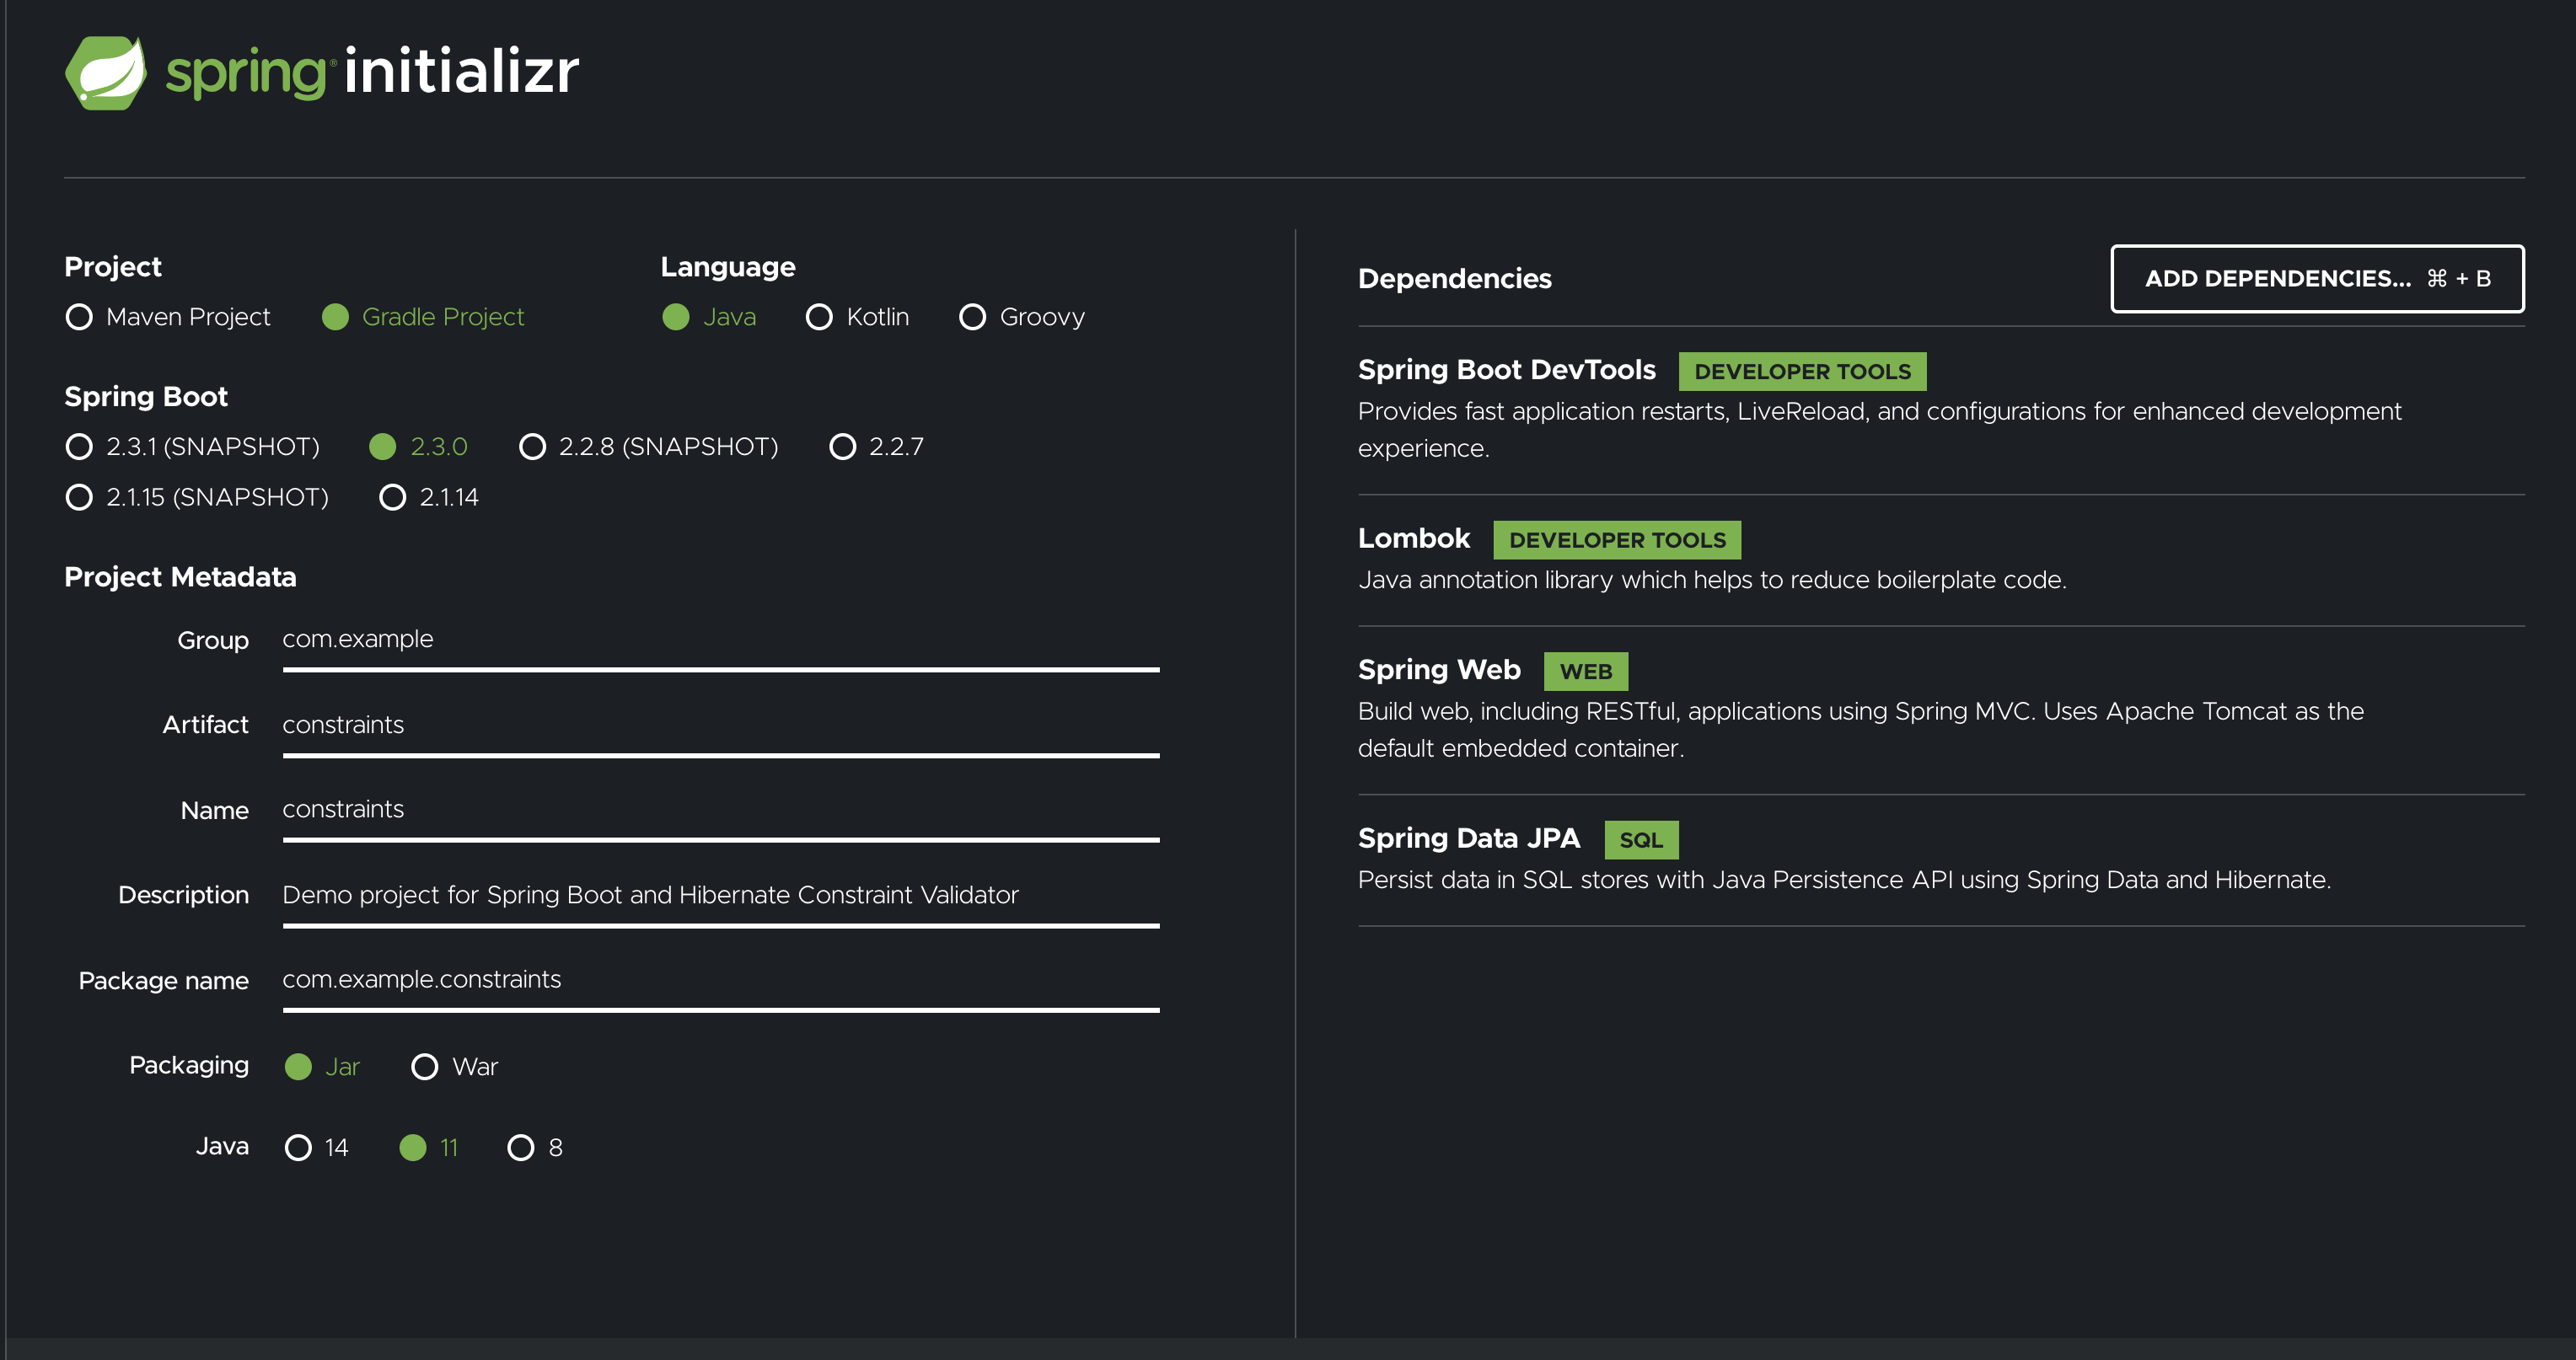
- Spring boot (data-jpa, web, devtools, starter-test)
- Lombok
- Model Mapper
- h2 In memory database
- Junit Vintage test
- It will be a long running article, are you ready? If not, you can jump ahead and find the source code: Here.
- There's a list on the top of this article, and you'll see that we'll need spring's data-jpa for our project. We use it to connect to any database (available to spring data library) and it will help us on the way, when we want to perform database operations (e.g. create, read, update and delete aka CRUD). There were also numerious other ways for connecting and operating on a database in dark times (and sadly we still need them to write native queries) such as JDBC (Java Database Connectivity) library.
- Now that we have certain knowledge about what tools we're going to use for database, let's see for what database we'll use it for. As you can see in the technologies used section, we're going to connect to an inmemory database called h2. It comes really handy when you want to do POCs, or fast spikes on certain library or a framework.
- Totaly unrelated but necessary, spring boot web library, to perform operations on REST controller level. This will be our entry point to our API. Users will be able to see and perform certain operations and manipulate database (not directly, but we'll come to that).
- We'll use springboot devtools to perform live reload.
- We'll use Lombok for shortening our job for example, implementing Getter-Setters, toString, hashCode methods, basically the code you won't need unless you want to initialize something.
- Model mapper is a very strong library to perform 'hard copy' of a pojo to an entity and vice versa. We'll use it for mapping our properties from those classes so that we won't need to implement a model mapper class expilicitly.
Use case: For this scenario, we want to implement a feature that will control user input before we write it to our database, even before hitting to the service layer. (I'm assuming we're on the same page on layered software architecture for spring framework).
Project creation:
I always start with deciding the database structure, it gives me an overall architecture of what I want to perform. Adding h2 library to your gradle file will automatically create a database for you. To create your database, you'll need to create data.sql and schema.sql files. So I'll go ahead and create two files:
DROP TABLE IF EXISTS TBL_USERS;
CREATE TABLE TBL_USERS
(
    id  NUMERIC AUTO_INCREMENT PRIMARY KEY,
    name VARCHAR(250) NOT NULL,
    surname  VARCHAR(250) NOT NULL,
    user_name     VARCHAR(250) DEFAULT NULL
);INSERT INTO TBL_USERS (name, surname, user_name)
VALUES ('Lorem', 'Ipsun', 'loremipsum'),
('Dolor', 'Sit', 'dolorsit'),
('Amet', 'Consectetur', 'ametconsectetur');Let's write necessary information to our yml file so that we can connect to them from hibernate.
spring:
  #part-1
  datasource:
    url: jdbc:h2:mem:testdb
    # temporary data storage
    driverClassName: org.h2.Driver
    username: sa
    password: password
    platform: h2
    initialization-mode: embedded
  jpa:
    database-platform: org.hibernate.dialect.H2Dialect
    hibernate:
      ddl-auto: none

  #part-2
  h2:
    console:
      enabled: true
      path: /h2-console
      settings:
        trace: true
web-allow-others: false- Data source section is about connection properties of the database.
-
urlConnection url for the JDBC connection. While we don't use JDBC, behind the curtains Hibernate needs this information to perform database operations.
-
driverClassNameType of the driver you want to use for database connection.
-
database-platformYou can specify here which sql provider you want to use.
-
ddl-autoIf you want to control creating the schema and the data, then you need to set this property to none. For other options see here
-
In part2, you can see the properties related to h2 database.
enabledYou can activate/deactivate h2 console and play around the database from http://localhost:8082/h2-console.
Now that we have some background information about the frameworks and libraries we used, let us now, see how to use it in our code.
We create the entity after we know how the table looks like, while stragiht forward, we still see some in depth usage of Lombok. (See @Data, @Getter and @Setter)
//imports removed for clarity
@Data
@Table(name = "TBL_USERS")
@Entity
@Getter
@Setter
public class User {
    @Id
    @GeneratedValue(strategy= GenerationType.IDENTITY) // for testing
    private Long id;
    private String name;
    private String surname;
    private String userName;
}
We'll use JpaRepository to access database. We added existsUserByUserName method to validate if the user exists, and findAll as from its name, to find all users in the database. It comes really handy to use "exists" methods, and IntelliJ really helps you with this with its fantastic code completion.
@Repository
public interface UserRepository extends JpaRepository<User, Long> {
    Page<User> findAll(Pageable pageable); // for better performance
    boolean existsUserByUserName(String userName); // for validation
}
What's next is the service layer. We won't access to the Data layer directly. Unless you don't have a valid reason for it, we must use service layer for our business logic. I also use this class to convert to and from entity classes.
@Service
@RequiredArgsConstructor
public class UserService {

    private final UserRepository userRepository;
    private final ModelMapper modelMapper;

    public Page<UserDTO> getAllUsers(Pageable pageable) {
        return mapToDTO(userRepository.findAll(pageable));
    }

    public boolean existsUserByUserName(String userName){
        return userRepository.existsUserByUserName(userName);
    }

    public UserDTO create(UserDTO userDTO) {
        return convertEntityToDTO(userRepository.save(convertDTOToEntity(userDTO)));
    }

    private Page<UserDTO> mapToDTO(Page<User> users) {
        return users.map(UserDTO::fromEntity);
    }

    private User convertDTOToEntity(UserDTO userDTO) {
        return modelMapper.map(userDTO, User.class);
    }

    private UserDTO convertEntityToDTO(User user) {
        return modelMapper.map(user, UserDTO.class);
    }
}
One step closer to our controller, the DTO is the main class we'll use to communicate between our API and UI. There is mainly one reason for now, that I can tell you is: security. You don't want to share or send Id or any other secure information from the request. Although too ideantical, you see that we don't use "id" field and we set a validator on userName. So that, if the user expects to create a user with the same username, will end up with an error.
@Getter
@Setter
public class UserDTO {
    String name;
    String surname;
    @UsernameUnique//for validation :)
    String userName;

    public static UserDTO fromEntity(User user) {
        UserDTO userDTO = new UserDTO();
        userDTO.setUserName(user.getUserName());
        userDTO.setSurname(user.getSurname());
        userDTO.setName(user.getName());

        return userDTO;
    }
}
Here we are, the last point. The API. You can also enrich the look or documentation with swagger . Here, I also used @RequiredArgsConstructor from Lombok. It will help you autowire the dependencies (for Dependency Injection), so that it will lazy load the classes for you. Of course, you need to write "private final" to make sure the state will not change for the class, during class initiation.
@RestController // for better responseBodies :)
@RequestMapping("/users")
@RequiredArgsConstructor // for better autowiring
public class UserController {

    private final UserService userService;

    @GetMapping
    public Page<UserDTO> getAllUsers(Pageable pageable) {
        return userService.getAllUsers(pageable);
    }

    @PostMapping
    public ResponseEntity<String> createUser(@Valid @RequestBody UserDTO userDTO) {
        userService.create(userDTO);
        return ResponseEntity.ok().build();
    }

}
Now that we have everything to write something to the database, we need to validate them, right? There's the classes for it. I'm using ConstraintValidator from javax package so that the library will contain necessary information to validate the certain field. But we need to point out where it should look at, a field? a method? a class? In UserDto.java, you already saw the annotation. So that we need to annotate in a class, which field we want to validate.
@Component
@RequiredArgsConstructor
public class UsernameUniqueValidator implements ConstraintValidator<UsernameUnique, String> {

    private final UserService userService;

    @Override
    public boolean isValid(String userName, ConstraintValidatorContext context) {
        return !userService.existsUserByUserName(userName); // guess what happens if the user exists :)
    }
}
This is how we should defined our annotation. Of course, for example I put the "Targets". But we will only need Field for our example, because we only want to validate userName.
@Target({ FIELD, METHOD, PARAMETER, ANNOTATION_TYPE })
@Retention(RUNTIME)
@Constraint(validatedBy = UsernameUniqueValidator.class)
@Documented
public @interface UsernameUnique {
    String message() default "Username already exists";
    Class<?>[] groups() default {};
    Class<? extends Payload>[] payload() default {};
}
That's it...We learned how to write custom validations and how to use them. Even on the first volume, we wrote a test for it (there's the same test in the project). Now that we learned it, let's try it!..